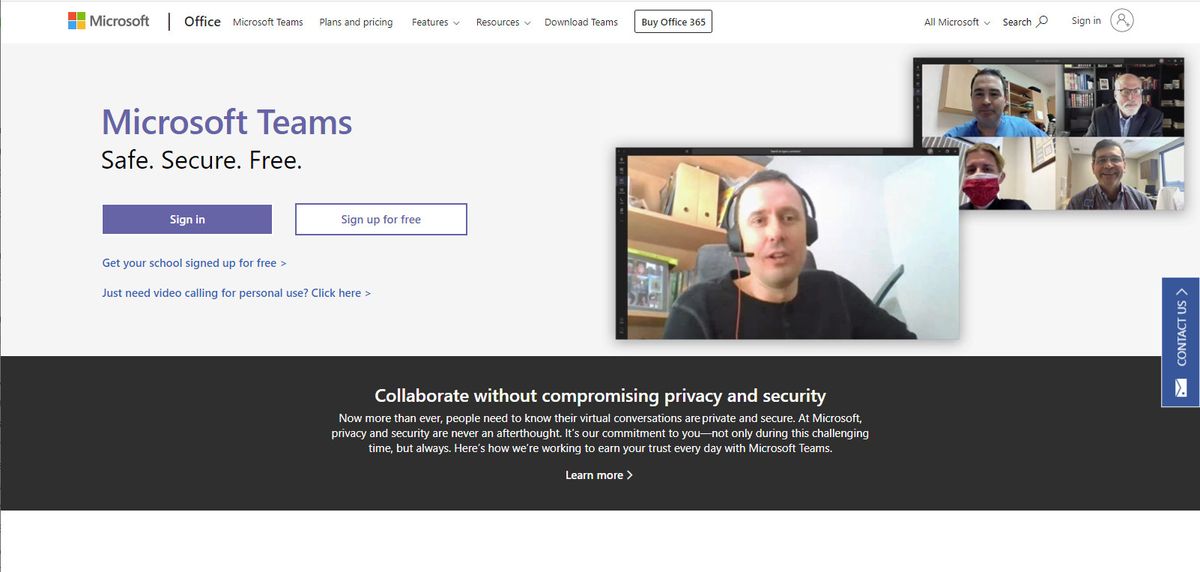
Much effort has gone into Microsoft Teams, as the company sees it as the critical component in their groupware functionality, allowing users to combine their efforts via a come by central communications hub creatively.
To achieve this objective, Teams takes four essential business functions and combines them into a single unified platform. These include messaging, meeting coordination, voice and/or video calls, and finally, it integrates to Microsoft Office 365 alongside other business-critical tools you use to support your business.
Therefore, you can communicate with individuals or groups, coordinate meetings and activities, have a record of all communication and collaborate on documents all within the Teams workflow.
Let’s get started with Teams and walk through exactly how you use it.
Teams can be run from a web page or installed as a desktop application (Image credit: Microsoft Inc.)
1. Launch Teams
Teams can be used on a computer directly from a browser, on mobile devices (Android and iOS) or via desktop applications for PC and Mac.
But for this tutorial, we’ll use the browser version. Since it contains the same functionality and layout as the installable app.
To use Teams head to this web location https://teams.microsoft.com/start
Here it will invite you to ‘Sign up for free’, and the only limitation is that you must either already have, or obtain at this time, a Microsoft account.
If you already use the business version of Microsoft Office 365, you should also see Teams as one of the standard apps on the Office workspace.
Once you’ve provided a Microsoft account and password, you are asked to say what environment you will be using Teams with the possible options being at a School, with Friends and Family or in a Business. Each option slightly customises Teams to those profiles, but the underlying technology is the same.
For this exercise, we’ve picked ‘For work’ option as our default.
With an account in place and Teams configured for how you will use it, the web version will offer you a desktop app if one is available for the operating system on your computer. There is no necessity to install this, but some users are happier with installable apps that aren’t browser dependent.
Our first job is to create our top-notch Team. Let’s do that now.
Teams is customised by your initial choices (Image credit: Microsoft Inc.)
2. Create a Team
The core structure of Teams is, predictably, the ‘team’.
To create or join a team, click on the Team section of the sidebar, and then label to the bottom left of the app, where it says ‘Join or Create a team’. If public teams already exist, you will see those presented to click on, or you can enter a code to join a private team.
In our example, neither of those are available yet. We only get the option to ‘Create a team’.
For those businesses that already have Office 365 groups, these can be utilised as a smart way to create a team with members attached, but we’ll build one from scratch by selecting that option from the first input.
You then get to decide if the team is public, private or Org-wide. Anyone can join a public team, private is invite-only, and Org-wide automatically adds everyone in the business.
You then get to decide what the team will be called, give it a description and confirm what type it is. If you have a private team that you later decide should be public, or Org-wide, then as the creator of the team you can change it later, should you wish.
But, for Teams to be useful, it needs to contain more than just your name and details, it needs those of the other Team members. Let’s add those next.
Team members can be added at creation, or once the Team has been established (Image credit: Microsoft Inc.)
3. Adding Team members
There are numerous ways to add people to Teams, but the simplest is to send them an email link that enrols them once they click on it. Or, you can simply add their email address directly into Teams.
You can also import names and email addresses from other applications that hold this data such as Outlook, People or another contact repository.
Once a team has some people associated with it, then it will proceed on the Team list, and you can review its members and any activity.
By default, it only has a single discussion subject ‘General’. In Teams, these subsections to a Team are called Channels, and we’ll now add one of these and start a conversation.
Channels enables teams to focus on a single subject, and therefore make the examine flow manageable (Image credit: Microsoft Inc.)
4. Add a channel
The information required for a Channel is like a Team. It has a title, description and you can say if it is standard or private. The last option is very useful if you wish to enter a private conversation with another team member, but avoid others seeing it.
Once the channel is created, you can add posts, load files and interact with others in the team.
We created a Channel called ‘Holiday adventures’, and then added some web pages and a short posting about the channel. Each member with access to that channel can be alerted if new contents are posted, and you can also refer to people in posts by placing an @ and then their names.
Conversations in Microsoft Teams are grouped into Channels (Image credit: Microsoft Inc.)
5. Channel conversations
Chatting in a Channel isn’t like a normal chat where what is said is exclusively between two parties, it’s more like a loud discussion had in an open-plan office.
In our example, team member Zen is talking to Mark, the message is sent to Mark, but everyone else can see the conversation. Although, only Mark gets an alert that he’s the focus of a comment. This reach allows multiple people to be alerted by a message, and everyone to be aware of what was said, if they have Teams open or alerts are enabled.
Interestingly, even if you aren’t mentioned, you can still reply to a channel posting, maybe to say ‘Mark is out for the day, perhaps he forgot your meeting?’.
Before you start a video meeting, you can straighten your tie, if you wear one. (Image credit: Microsoft Inc.)
6. Video chat time
At the bottom of the right-side panel is a line of icons that allow conversations to have richer contents than just words, and alongside those, the most crucial icon in Meet.
Resembling a video camera, the icon has the label ‘Meet Now’, if you hover the pointer over it, and it initiates a meeting with video by default.
Once you’ve clicked on it, you will be given the option to disable video, if you prefer, and also give the meeting a subject. Once you’ve made those choices, you can click to ‘Meet Now’ and start the meeting, even if at that demonstrate you are the only one in attendance.
With the Meeting underway, you should be able to see yourself, and also see a small control panel that allows you to mute the sound, disable video, distribute files to those attending, show chat and also see who is attending.
You can also share your desktop, or use a whiteboard functionality to annotate a picture or presentation that you might be discussing.
A channel can be altered after it is created. And, if you don't need it any longer, deleted. (Image credit: Microsoft Inc.)
7. Managing Channels
If you join a channel, and then for whatever reason decide it contains nothing relevant to you, then you can delete the channel. But, be aware, all the conversations, records of meetings and anything else to do with that channel will be deleted, and you change your mind and get it back.
The only exception to wipe is that any attached files will be retained on Sharepoint, even after the channel has been removed.
Obviously, if you delete a channel created for a meeting that didn’t happen or project that never started, then that’s fine. But be careful about removing channels that you might need at some point, even if it isn’t immediately.
Teams works will many apps designed to enhance the meeting experience (Image credit: Microsoft Inc.)
8. Adding more functionality
The version of Teams we’ve presented is the core functionality of this product, but you can add all manner of features and integrations to Teams depending on the products you use within the workplace.
A good example of this extensibility is that many companies will run Office 365 with a cloud-based calendar, and those that do will see an additional icon on the left ‘Meetings’. This enables meetings to be scheduled in the future and keeps everyone informed if the even is moved or subsequently cancelled.
Microsoft Teams also provides connections to a vast range of third-party business products like KUDO, Zoom, Jabber, Trello, Evernote and many more. If you are serious about using Teams it is worth talking to your IT people about what extra functionality you can have enabled with Microsoft Teams.
Thanks for visiting our article How to use Microsoft Teams | TechRadar. Please share it with responsible.
Sincery All Tips collection
SRC: https://www.techradar.com/how-to/how-to-use-microsoft-teams


0 Response to "How to use Microsoft Teams | TechRadar"
Post a Comment